How I stumbled my way into adding SSL to my domain
I must admit I have no idea what I'm doing when it comes to self-managed hosting. The past two years have been full of hosting-related adventures yet I still feel overjoyed each time I manage to achieve something trivial (with great efforts, I should add).
After a couple of days go I successfully added a www to non-www rediraction for my domains, I gathered enough courage to attempt a SSL certificate installation. And boy, did I need that courage...
The process should actually be rather straight-forward and it is, assuming all the stars are perfectly aligned. Unfortunately, it was not the case for me.
The SSL certificate part was graciously and gratuitously covered by Let's Encrypt. DigitalOcean offered a great tutorial on How To Secure Nginx with Let's Encrypt on Ubuntu 14.04. However, I found this post by John Gibby much more helpful: How to use Letsencrypt with multiple domains on Nginx and Ubuntu. I'd recommend you start with all the steps covered there first.
As usual, here's my straightforward and TL;DR version on what needs to be done.
Start by cloning the Letsencrypt repo:
sudo git clone https://github.com/letsencrypt/letsencrypt /opt/letsencrypt
Head to the newly created directory:
cd /opt/letsencrypt
Stop Nginx, just to be sure:
sudo service nginx stop
Attention! Before beginning to create and install the SSH certificate, there are two huge gotchas.
-
You need to have at least python 2.7.9. You can check your current version by running
python -V. I had 2.7.6 which resulted in some very cryptic errors and only good ol' googling helped me. -
Make sure you have plenty of RAM, otherwise you will run into another cryptic error (Error code 1). For me a temporary flexible resize to a 1Gb RAM droplet did the trick.
If you took care of the aforementioned things, you can now start the installation process (do not forget replace yourdomain.com with your domain):
sudo ./letsencrypt-auto certonly -d yourdomain.com --standalone
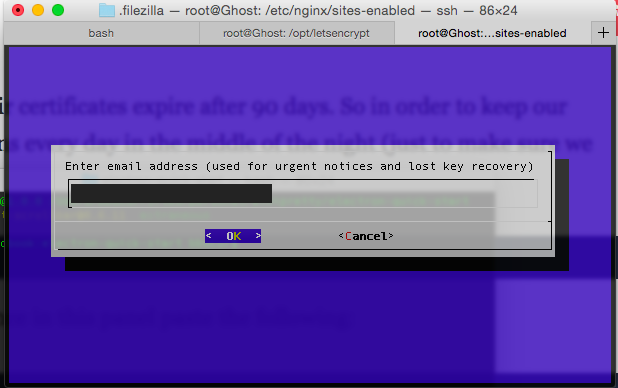
After everything is installed you will be taken to a simple GUI interface with just two screens. One where you enter your email...
... and one where you agree to their terms.

Last but not least, the .conf file editing. None of the suggested edits from neither tutorial worked for me (no surprise, to be honest) and I kept running into a ominously looking 502 Bad Gateway error.
With the help of another blog post, How to secure Nginx with Let's Encrypt on Ubuntu I managed to cobble something up.
server {
    listen 443 ssl;

    server_name yourdomain.com;

    root /var/www/yourdomain.com/public_html;
    index index.html index.htm;

    ssl_certificate /etc/letsencrypt/live/yourdomain.com/fullchain.pem;
    ssl_certificate_key /etc/letsencrypt/live/yourdomain.com/privkey.pem;
}
server {
    listen 80;
    server_name yourdomain.com;
    return 301 https://$host$request_uri;
}
server {
    listen 80;
    server_name www.yourdomain.com;
    return 301 https://yourdomain.com$request_uri;
}
Now everything works just as expected (you can admire the secure version of my project, Când e liber?) with just one small hiccup: the secure www version is not ok but I'm quite confident it's simply because I need a new certificate for it.